When asked which characteristics would be important when creating a new logo, I referred to an old blog called Birth of the iText logo. The previous logos could all be created by writing some iText code, and I wanted this to be possible for the new logo too. The previous logo consisted of a series of Bézier curves. The new logo can be created using less than a handful characters from a Type3 font aka a user-defined font.
The Logo example shows how it's done.
First we create a Type3Font instance:
Type3Font t3 = new Type3Font(writer, true);
The writer object is the PdfWriter instance to which the description of each glyph will be written. The true parameter indicates that we'll introduce color into our font: each character will be displayed in a specific color.
Now let's define each glyph, one by one. All measurements are done in glyph space, and by default, iText creates a font matrix so that 1000 units in glyph space correspond with 1 text unit.
 The I character will a character that fits into a rectangle measuring 1200 by 600 glyph units. When the letter I is added, the cursor will advance by 700 glyph units. Its color will be orange, the line width will be 125 glyph units and the line cap is set to rounded. The glyph itself is drawn by a single
 moveTo() and a single lineTo() operation.
PdfContentByte i = t3.defineGlyph('I', 700, 0, 0, 1200, 600);
i.setColorStroke(new BaseColor(0xf9, 0x9d, 0x25));
i.setLineWidth(125);
i.setLineCap(PdfContentByte.LINE_CAP_ROUND);
i.moveTo(600, 36);
i.lineTo(600, 564);
i.stroke();
 The T will also fit into a rectangle with the lower-left corner at coordinate (0, 0) and the upper-right corner at coordinate (1200, 600). The advance will be 1170 glyph units. Its color will be blue, the line width and line cap will have the same value as the I. The T consists of two lines, so we'll use two
 moveTo() / lineTo() sequences.
PdfContentByte t = t3.defineGlyph('T', 1170, 0, 0, 1200, 600);
t.setColorStroke(new BaseColor(0x08, 0x49, 0x75));
t.setLineWidth(125);
t.setLineCap(PdfContentByte.LINE_CAP_ROUND);
t.moveTo(144, 564);
t.lineTo(1056, 564);
t.moveTo(600, 36);
t.lineTo(600, 564);
t.stroke()
 Now comes the E with the same bounding box as before, but an advance of 1150 glyph units. As we want the E to look like a stack of documents, we draw three parallel lines.
PdfContentByte e = t3.defineGlyph('E', 1150, 0, 0, 1200, 600);
e.setColorStroke(new BaseColor(0xf8, 0x9b, 0x22));
e.setLineWidth(125);
e.setLineCap(PdfContentByte.LINE_CAP_ROUND);
e.moveTo(144, 36);
e.lineTo(1056, 36);
e.moveTo(144, 300);
e.lineTo(1056, 300);
e.moveTo(144, 564);
e.lineTo(1056, 564);
e.stroke();
 Finally, we need to define the X. Just like the T, it consists of two lines.
PdfContentByte x = t3.defineGlyph('X', 1160, 0, 0, 1200, 600);
x.setColorStroke(new BaseColor(0x10, 0x46, 0x75));
x.setLineWidth(125);
x.setLineCap(PdfContentByte.LINE_CAP_ROUND);
x.moveTo(144, 36);
x.lineTo(1056, 564);
x.moveTo(144, 564);
x.lineTo(1056, 36);
x.stroke();
We have successfully defined a font consisting of 4 characters: I, T, E, and X. We can now use the Type3Font object, to create a Font instance the can be used in a Chunk, Phrase, or Paragraph:
Font font = new Font(t3, 20);
We have defined a font size of 20 user units, which corresponds with 20pt. We previously defined that our glyphs would take 1200 by 600 units in glyph space. This means that the actual size of our glyphs will be:
1200 * .001 * 20pt = 24pt
600 * .001 * 20pt = 12pt
This is how we use the font object in a Paragraph:
Paragraph p = new Paragraph("ITEXT", font);
document.add(p);
p = new Paragraph(20, "I\nT\nE\nX\nT", font);
document.add(p);
Now when we open the resulting PDF in a PDF viewer, we see the following output:
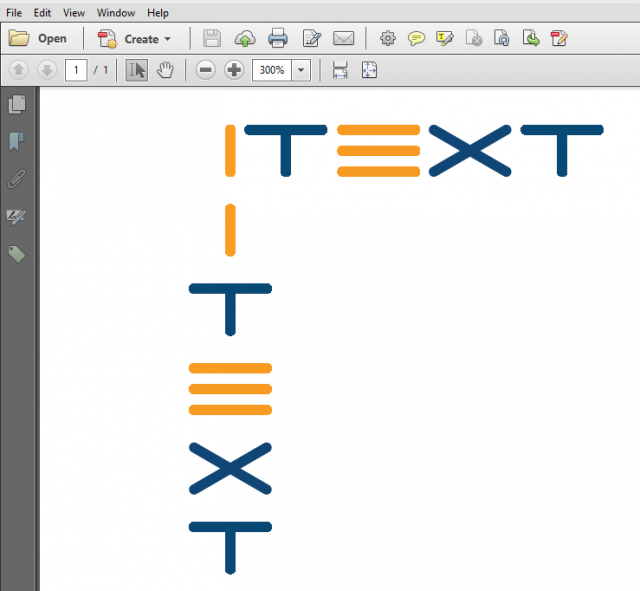
When we examine the file using iText RUPS, we see that the content stream of the page contains the text ITEXT:
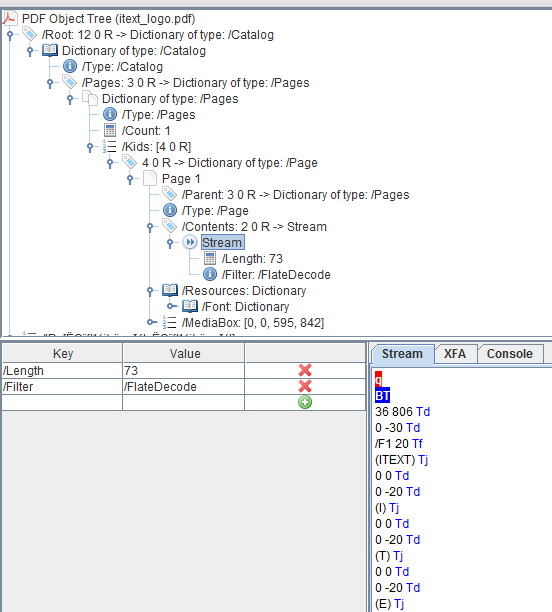
Looking closer at the font resources with name /F1, we see that the font is indeed defined as a Type3 font:
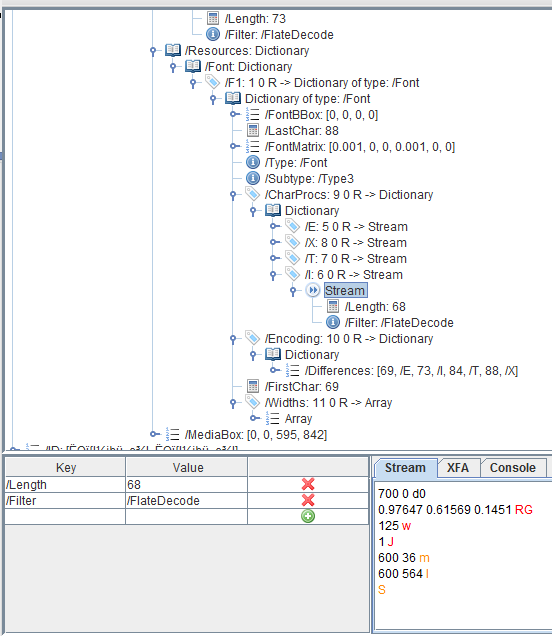
In the screen shot, we see the glyph description for the I character. The advance in x-direction is 700, whereas the advance in y-direction is zero as defined in the PDF specs. We define a color with the RG, a line width with the w operator and the line cap with the J operator. The we construct a path with the m (moveTo) and l (lineTo) operator and we stroke the path with the S operator.
We have successfully created a PDF document where our logo is displayed using a Type3 font we have manually created ourselves using nothing but a series of simple PDF instructions.
